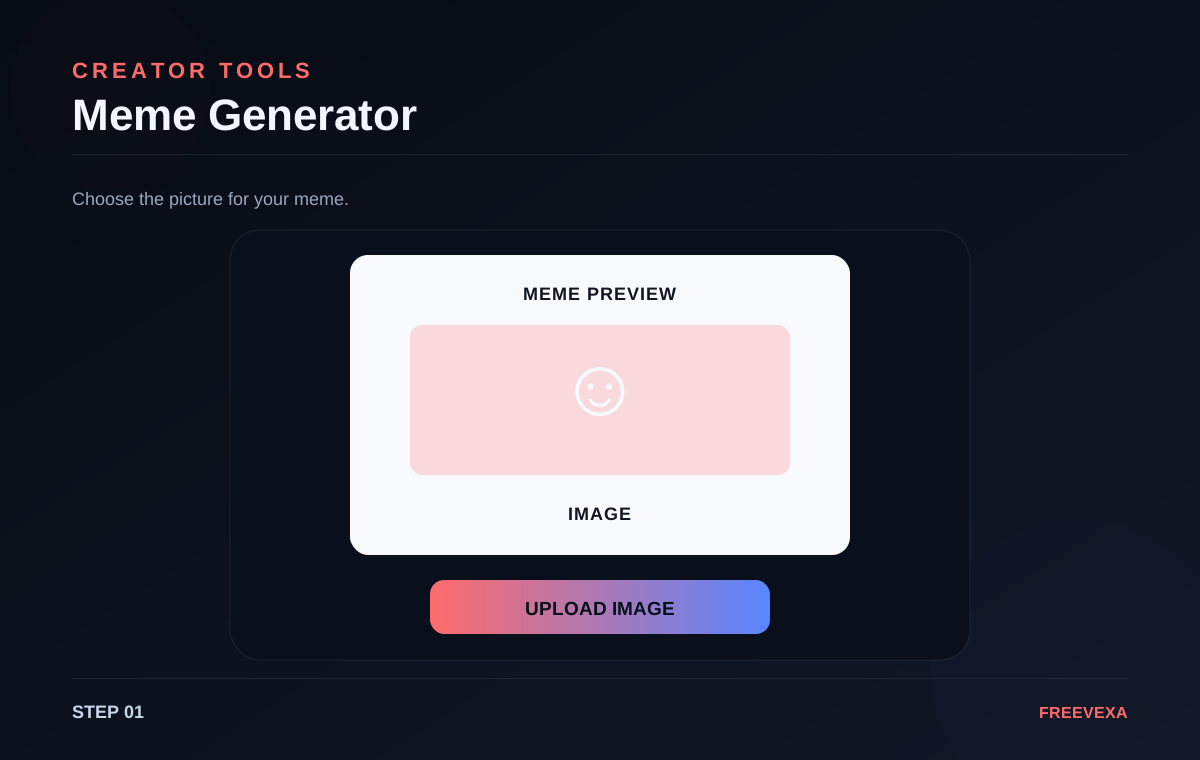
STEP 01
Upload the image
Choose the photo or image you want to turn into a meme.
Upload an image, add top and bottom text, preview the meme and download it as a PNG.
Meme Generator is designed for a focused browser workflow. The main controls stay together so you can move from input to result without unnecessary screens. The exact process depends on the job: some tools ask for numbers, some use files or images, and others measure activity in the browser. Use the steps below as a practical guide and check the final result before you save, share, print or publish it.
Choose the photo or image you want to turn into a meme.
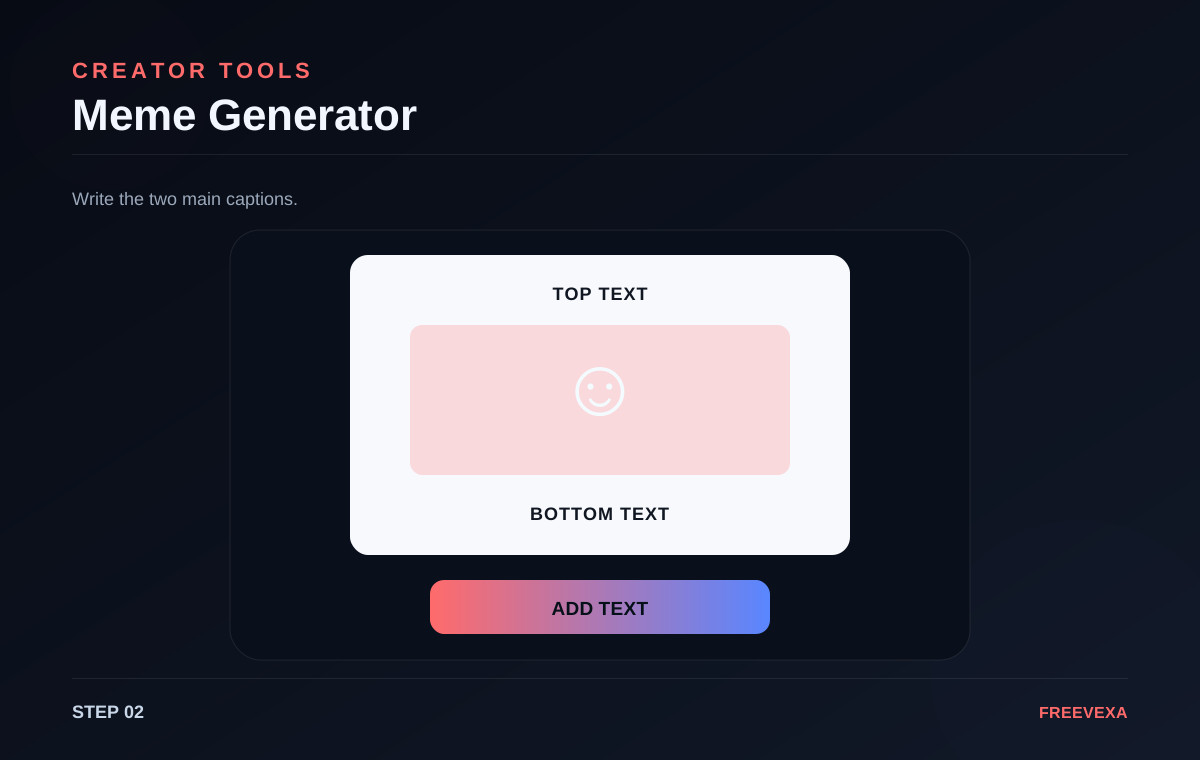
Enter top and bottom text and adjust the wording.
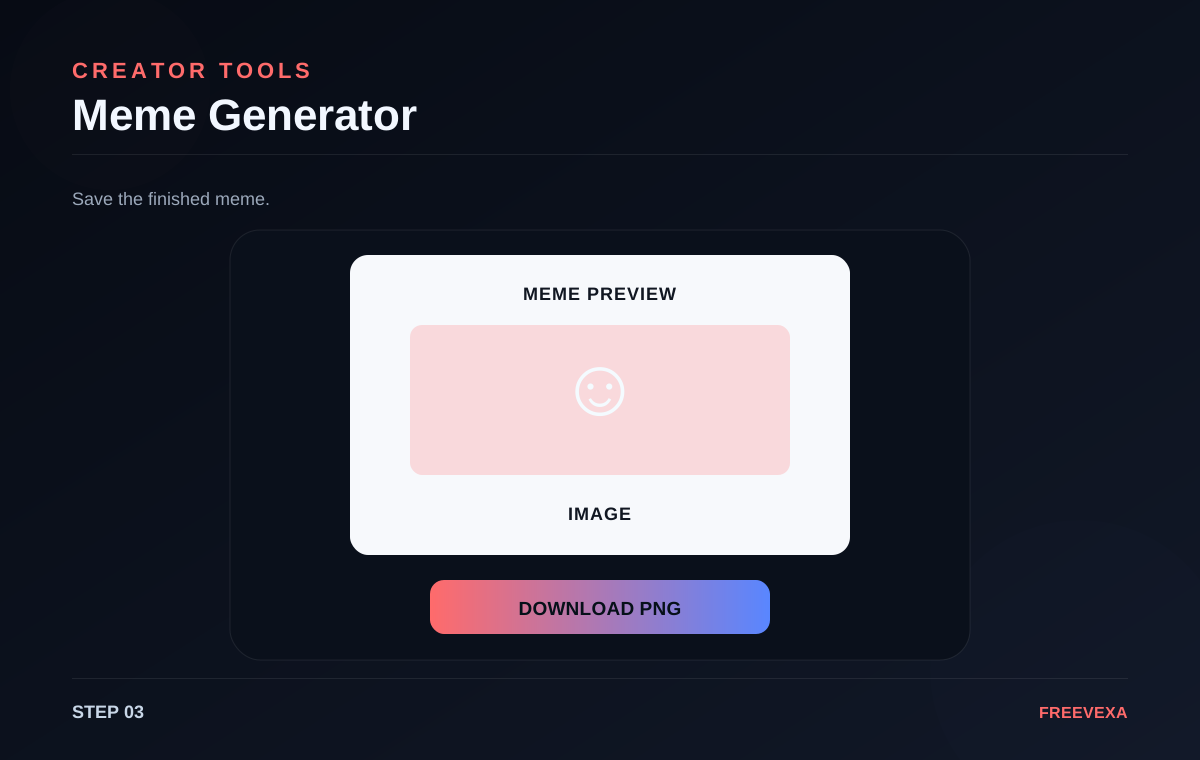
Render the meme and save the PNG image.
Step 1. Upload a JPG, PNG or WebP image from your device. The tool loads the image into a browser canvas so you can work on it without building a separate project.
Step 2. Enter optional top and bottom text. Keep the wording concise so it remains readable on a phone screen. Use the live preview to check the placement.
Step 3. Press Generate Meme to render the final composition. The tool scales the image into the canvas and draws the text with a bold meme-style treatment.
Step 4. Download the PNG once you are happy with the result. Open the saved file to verify the final dimensions and readability before sharing it.
Step 5. Use images you have permission to reuse, especially when a meme is being published commercially. Freevexa provides the creation tool but does not grant rights to source images.
Useful tips. Short text usually reads better than a paragraph. Check the top and bottom margins so important parts of the original photo are not covered by the caption. Check your input before the final action, especially for dates, prices, file selections, tax rates, network tests and text. Repeating the process with the same settings can help you compare results more consistently.
Why use Freevexa? Freevexa gives creators a quick browser-first meme workflow with upload, text and download on one page. It is designed for simple creation without an account. Across the tool collection, Freevexa keeps the interface consistent, puts the main action in a visible place and avoids forcing a separate account step for basic utilities. The goal is to make a useful result easy to reach while keeping each page focused on the task.
Best way to use the tool. Start with the smallest complete input, run the tool once, read the result, and then repeat only when you need a different scenario. This keeps the workflow clean and makes it easier to spot an incorrect value. For recurring tasks, save a copy of the final output when the information matters outside the browser.
What to check before using the result. Review the output before relying on it. File and image tools can depend on browser capabilities; network tools send test traffic to their measurement endpoint; and creative tools still require you to use content you have the right to use. Freevexa is a practical utility layer, not a replacement for official records, accounting systems, professional advice or certified measurement equipment.
Inputs, main action and result are kept together so the next step is easy to find.
Basic processing happens in the page. Features that need a network measurement or external library are clearly stated on the tool.
A consistent dark interface, responsive controls and direct result actions make the tool easy to reuse.