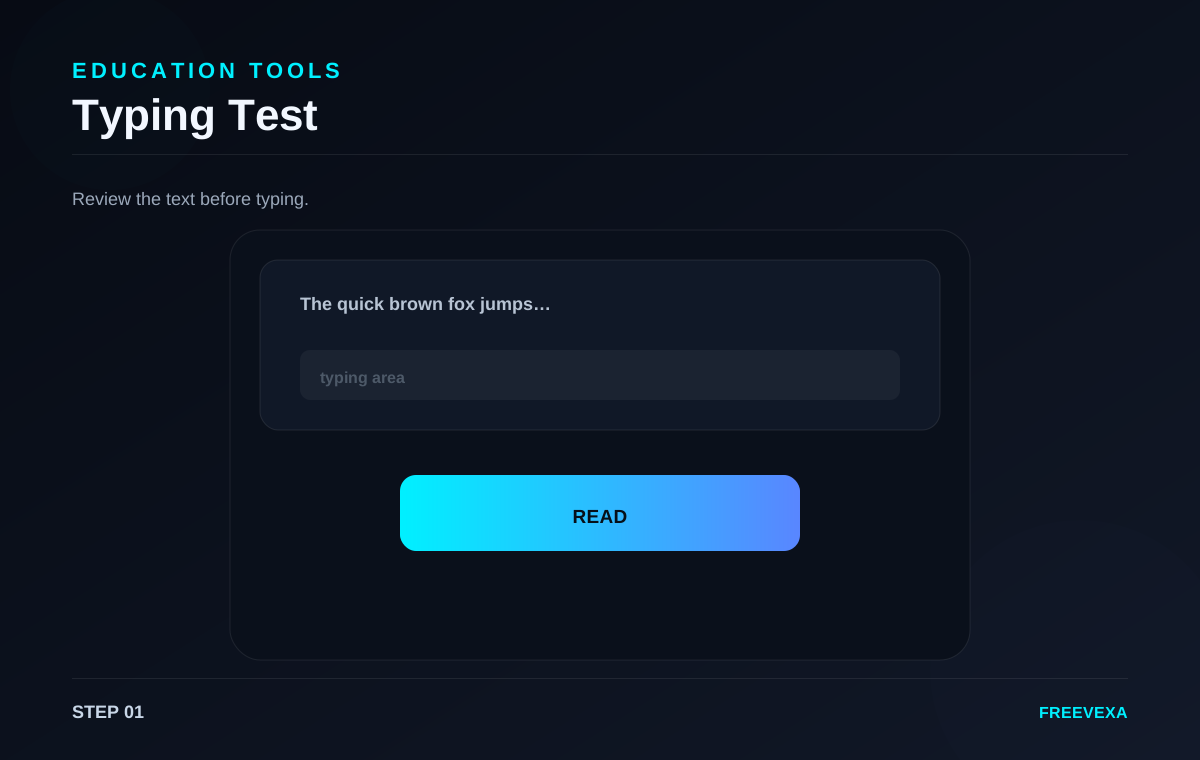
STEP 01
Read the sample
Review the practice passage shown above the input.
Test typing speed and accuracy with a timed passage directly in your browser.
Typing Test is designed for a focused browser workflow. The main controls stay together so you can move from input to result without unnecessary screens. The exact process depends on the job: some tools ask for numbers, some use files or images, and others measure activity in the browser. Use the steps below as a practical guide and check the final result before you save, share, print or publish it.
Review the practice passage shown above the input.
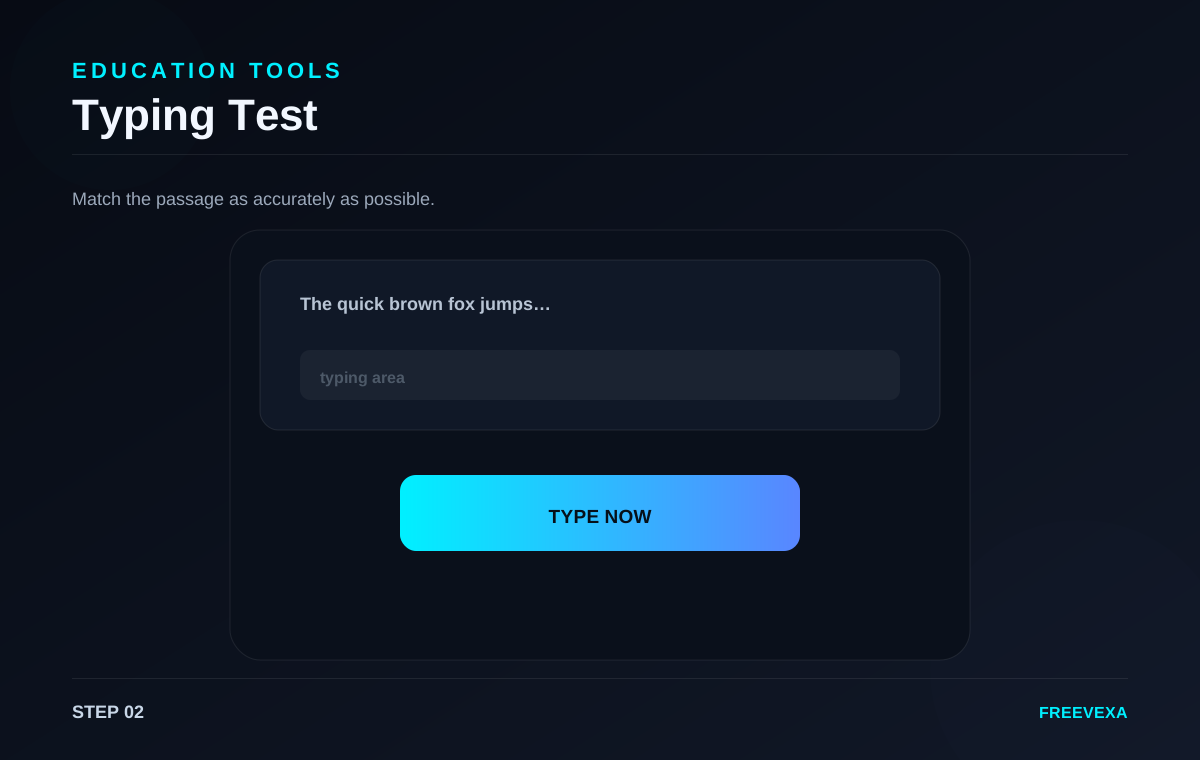
Type the text exactly as shown to begin the timed test.
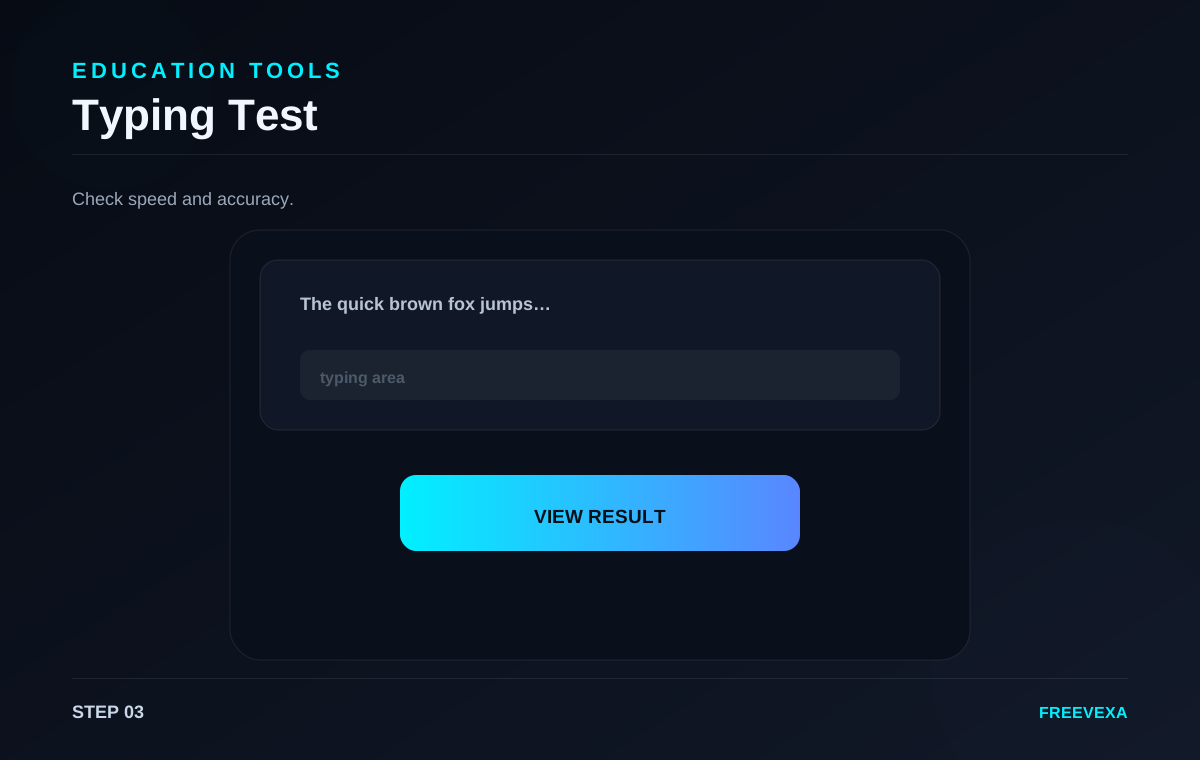
Review WPM, accuracy and elapsed time when the test ends.
Step 1. Read the sample text before starting. This lets you understand punctuation and words so you can type with fewer pauses once the timer begins.
Step 2. Click the typing area and type the passage exactly as shown. The tool tracks characters and compares your input with the target text while you work.
Step 3. When the passage is complete, Freevexa calculates your approximate words per minute and typing accuracy. The result helps you compare practice sessions.
Step 4. Repeat the test with a fresh run when you want to improve consistency. Focus on accuracy first, then gradually build speed without relying on excessive backspacing.
Step 5. Typing-test scores are practice metrics, not formal certifications. Different passages, keyboard layouts and timing rules can produce different results.
Useful tips. Use the same keyboard and language during practice if you want meaningful comparisons. Short daily sessions can make it easier to track gradual improvement. Check your input before the final action, especially for dates, prices, file selections, tax rates, network tests and text. Repeating the process with the same settings can help you compare results more consistently.
Why use Freevexa? Freevexa keeps the test focused on the typing task instead of adding account screens or unnecessary setup. The result is calculated immediately in the browser. Across the tool collection, Freevexa keeps the interface consistent, puts the main action in a visible place and avoids forcing a separate account step for basic utilities. The goal is to make a useful result easy to reach while keeping each page focused on the task.
Best way to use the tool. Start with the smallest complete input, run the tool once, read the result, and then repeat only when you need a different scenario. This keeps the workflow clean and makes it easier to spot an incorrect value. For recurring tasks, save a copy of the final output when the information matters outside the browser.
What to check before using the result. Review the output before relying on it. File and image tools can depend on browser capabilities; network tools send test traffic to their measurement endpoint; and creative tools still require you to use content you have the right to use. Freevexa is a practical utility layer, not a replacement for official records, accounting systems, professional advice or certified measurement equipment.
Inputs, main action and result are kept together so the next step is easy to find.
Basic processing happens in the page. Features that need a network measurement or external library are clearly stated on the tool.
A consistent dark interface, responsive controls and direct result actions make the tool easy to reuse.